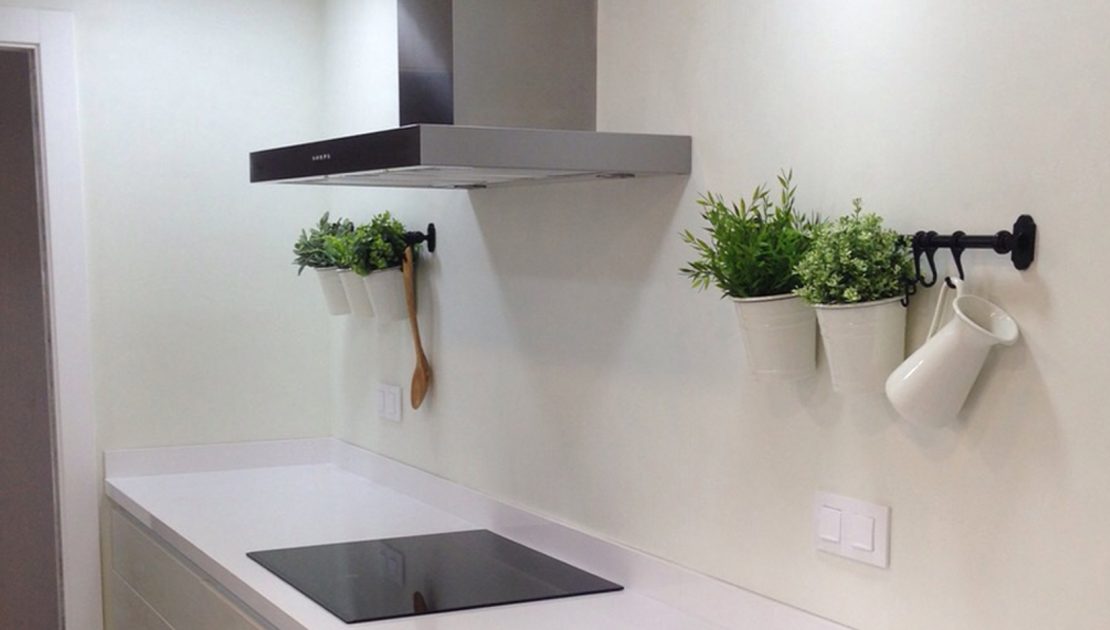
This is a brief summary specifying the steps to be taken in the microcement application.
The microcement is a final finishing decorative coating; this means that must be done at the end of the work o renovation and not before.
The microcement application is not difficult, but it does need certain know-how and skill with the necessary Tools (trowel, spatula and rollers). The most important part is to stick to the mixture proportions and the thickness of each layer.
Application procedure
1. Surface preparation
As the first step we need to make sure the surface is free of dust and grease, that the surface is straight and completely dry (without capillary humidity or plaster/cement humidity), with good foundation and as straight or smooth as possible.
There are 2 kinds of surfaces to apply microcement.
1. Floors or walls that need a regularization procedure (i.e. tiles walls or cement plaster walls. In the case of floors, all kind of floors need regularization regardless of the finishing).
2. Completely smooth walls (i.e. smooth caulked walls or completely smooth walls)
In the case of floors and walls that need regularization, an extra step of preparation for the floors and walls is need it to prepare the surface. In the case of smooth walls, the process is faster and cheaper.
Once the surface has been verified, we proceed to place the protective tape.
2. Regularization of the surface
Optional: in the case off floors or walls that need regularization first extend the fiberglass mesh over the surface. This mesh will help on 2 aspects: the application of the base microcement (the microcement that is used to regularize) and to cover the imperfections and tiles Joints). The mesh will allow a more effective union of the microcement.
We place the protective tape to protect areas, corners, furniture, etc…. and then we apply the primer. With this product a perfect union between the surface and the microcement is obtained. It is easily applied with a short haired roller and water is use to clean the tools. The drying time is normally between 20 and 40 minutes (depending on the absorption of the surface).
If the fiberglass mesh has been place previously, apply the primer over the mesh and this procedure will help the mesh to stay attached over the surface, making possible the application of the microcement.
In the case of floors or walls that need regularization apply the microcement over the mesh and the primer. This microcement is applied in layers of 1 mm and it is recommended to apply 2 layers of this product. It is apply with a steel trowel and once its completely dry, its sand it with sandpaper grit 40 to obtain a completely smooth and without imperfections surface. Once the sanding of the surface is done clean the dust with a vacuum cleaner or damp cloths and the protective tape must be removed.
3. Finishing Microcement
Place the protective tape. In the step we apply the Thin Microcement. This is the Final Finishing Microcement, is a really thin microcement and produce really aesthetic marbling effects. It’s applied with a special plastic trowel, which is really flexible. We recommend applying 2 layers of this microcement, each one of 0.1 mm (the thickness of a paper sheet) and slightly sanding it between layer and on the final layer with sandpaper grit 180-200. The following step is to vacuum the sanding dust and remove the protective tape.
4. Sealer
We place the protective tape. The sealer removes the absorption from the microcement and starts to create the waterproof quality. It also enhances the definitive color of the microcement. It is applied with a shorthaired roller is an easy way.
5. Finishing Varnish
This product is the final layer that will protect the microcement. It is necessary to obtain the complete impermeability of the microcement making it resistant to any regular cleaning product (Bleach, ammoniac, anti-lime)
In the market are 3 kind of varnish: shinning, matt and satin. The manufactures recommend the shinning finishing for floors and matt or satin for walls. The products are also applied with a shorthaired Roller and it is recommended to do 2 or 3 layers.
